
 |
| Home • Reviews • Forums • News 2015 • 2013 • 2012 • 2009 • 2008 • 2007 • 2006 • 2005 • 2004 RSS Feeds • FOV Factor Table • Sensor Sizes | Definitions: A-D • E-H • I-L • M-P • Q-U • V-Z | Sitemap Articles • Archived Websites (Pre-DigitalDingus): D100 Lounge • E-10 Club | Contact |
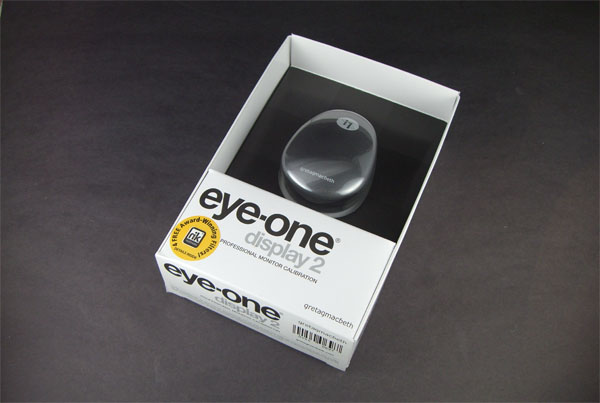
| Eye-One Display 2 by GretagMacbeth |
| Conclusion December 4, 2006 |
| Eye-One Display 2 Introduction • What's In The Box / Closer Look Eye-One Display 2 Monitor Calibration • Monitor Calibration (Part 2) • Monitor Calibration (Part 3) Eye-One Display 2 Specifications • Eye-One Display 2 Conclusion
|
Pros

The only Con I experienced was the design of the counterweight. Needs to be re-designed. I would much prefer something which attaches to the USB cable, rather than vice versa. I also think the counterweight is just too small and is barely functioning as a counterweight as the Eye-One is rather heavy. And just as a side note, there has to be a way to design a different counterweight product altogether because even with the counterweight having a "snap-on" capability, it's still awkward letting it sit on the top of the LCD or behind it, because there are countless LCD display enclosures which vary in thickness and characteristics which are not "counterweight friendly". Other than this, I found no other cons.
As far as observations and suggestions, I would highly recommend a PDF manual of the information GretagMacbeth includes within the Eye-One Match 3 software. I find it a little irritating I have to open the program itself and actually calibrate the monitor again to view the helpful information. Not exactly convenient.
A really cool feature of the Eye-One D2 is performing ambient light level checks with the included ambient head which attaches to the Eye-One D2 itself. Also, the head functions as a protective case so the sensing element remains safe from falls off the desktop.
So, by now you're going to ask if the Eye-One Display 2 is worth the $200 asking price. Hell yes. I have no reservations highly recommending this to anyone. If you're a digital photographer, this should be in your workflow. As stated earlier, many people think you calibrate once and then forget about it. Well, this is just not the case at all, and when you purchase a device like this, you certainly will be using it on a regular basis. Your images will be more consistent, not only on your favorite display screen, but more importantly, the output. The output is where all of this calibration is most valued and where it pays off.
|
| Home • Reviews • Forums • News 2015 • 2013 • 2012 • 2009 • 2008 • 2007 • 2006 • 2005 • 2004 RSS Feeds • FOV Factor Table • Sensor Sizes | Definitions: A-D • E-H • I-L • M-P • Q-U • V-Z | Sitemap Articles • Archived Websites (Pre-DigitalDingus): D100 Lounge • E-10 Club | Contact |