
| Home Ģ Reviews Ģ Forums Ģ News 2015 Ģ 2013 Ģ 2012 Ģ 2009 Ģ 2008 Ģ 2007 Ģ 2006 Ģ 2005 Ģ 2004 RSS Feeds Ģ FOV Factor Table Ģ Sensor Sizes | Definitions: A-D Ģ E-H Ģ I-L Ģ M-P Ģ Q-U Ģ V-Z | Sitemap Articles Ģ Archived Websites (Pre-DigitalDingus): D100 Lounge Ģ E-10 Club | Contact |
| Accelero XTREME Plus II by Arctic Cooling |
||||||||
| Radeon HD 6970 Installation October 21, 2012 |
||||||||
| Accelero XTREME Plus II Ģ A Closer Look Radeon HD 6970 Installation Ģ Features & Specifications Ģ Conclusion
|
||||||||
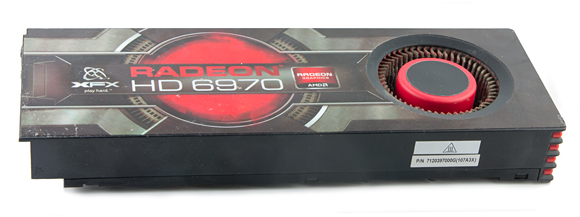
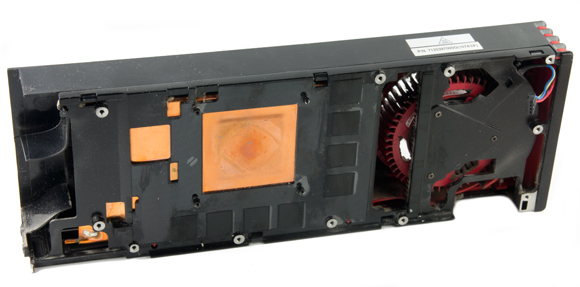
The ATI Radeon HD 6970 2GB Cooling System
The cooling section for the Radeon HD 6970 has a weight of 1.6 lbs (25.6 oz). Which is roughly 72% of the overall weight. The card itself weighs only .6 lbs (9.6 oz).
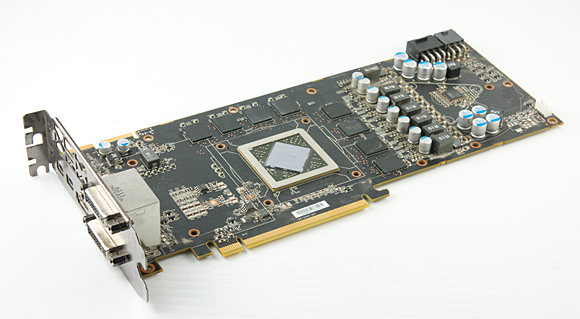
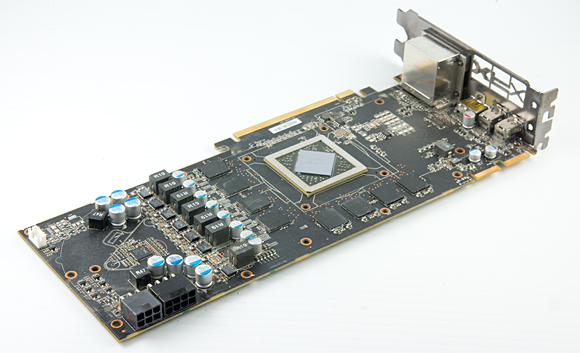
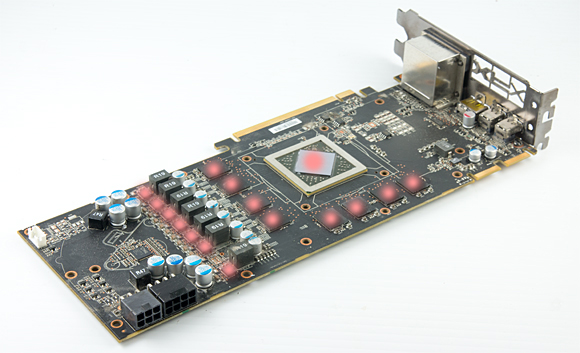
A Naked HD 6970 2GB
And just in case you've ever wondered what your video card looks like without all the cooling accessories, here you go.
Compared to previous video cards, the Graphics Card Plain is rather flat. Years prior, we'd have a lot more resistors and capacitors hanging around areas which were not welcomed. So, in spite of my ranting in this review, the designs of video cards are slowly getting better — just not as quickly as I would like.
Accelero XTREME Plus II: Completing Installation
So, now we're at the point where the G-1 compound is to be used. There are two packets which will need to be mixed. Each packet is about 2g, which makes about 4g of thermal paste. Below, I highlighted the areas in where you will need to apply the thermal paste.
At this point, you're only going to need to use HALF OF THE CONTENTS OF BOTH PACKETS, so only empty half of the contents of each packet into a small mixing container, and seal up the two packets. You'll find out below why you're not using all the G-1 compound at once.
Now, the required time for the heatsinks to cure and set on the HD 6970, is at least 5 hours. Since the G-1 compound is barely sticky when it is applied to the electronic components, this does not permit you to try and try again, eventually ending in success. The heatsinks just slide around way too much on the VRAM and the card must be on a level surface, free from movement. You have to do it right the first time, so this is where I diverted from applying G-1 to the GPU itself at the same time as the other components.
First, I let all the other heatsinks cure overnight. I used about half of the contents of both packets. The next morning, I had a solid board with no heatsinks moving around, and they were stuck to the card. Second, I then applied the rest of the G-1 paste to the GPU and then let it cure for 5 another hours.
Another important observation, is the G-1 goo is rather fluid, and not as "pasty" as other compounds, so you could wait 5-10mins after you combine the two packets to let it thicken. In any case, be aware you can easily get extra compound in areas where you might not want it.
Accelero XTREME Plus II: Use The 3mm Spacers
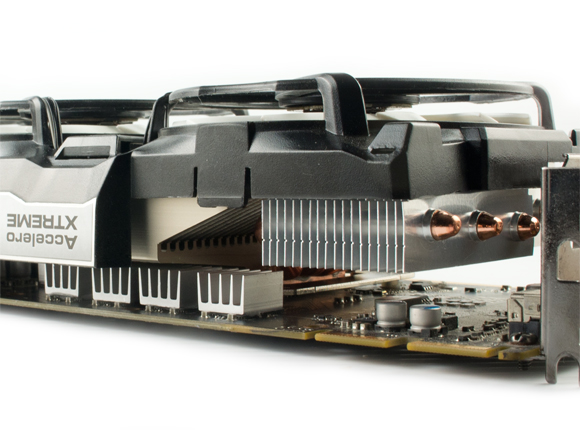
Below is an cropped image which centers on the VRAM heatsinks. These heatsinks are going to get in the way of installing the cooling fan, so you'll need to slightly jack up the cooling fan's GPU heatsink so it clears the VRAM heatsinks. How do you do this? Well, Arctic Cooling has provided 3mm and 4.5mm spacers. Only use the 3mm spacers as the 4.5mm spacers on the HD 6970 will jack it up too much, leaving a nice gap between the GPU and the GPU heatsink. Which is not good. So, use the 3mm spacers along with the supplied adhesive washers, so that you just clear the VRAM heatsinks as shown below.
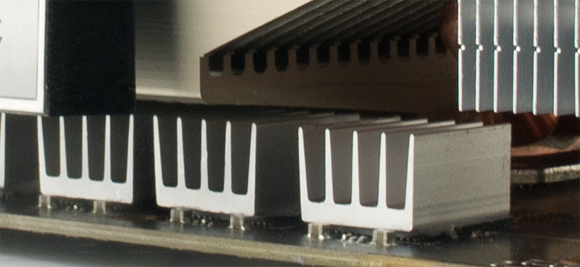
And here's an even closer look. We're not too concerned with the heatsinks touching the GPU heatsink, as we are making sure we don't have too much spacing between the GPU and its heatsink. The 3mm spacers are good compromise as we have just enough clearance on the VRAM heatsinks, but yet have good solid contact for the thermal compound to bond the GPU and the Artic Cooling GPU heatsink together.
Installation Conclusion
Ok, let's just recap what you should be aware of, and what I recommend, when installing your Accelero XTREME Plus II on your Radeon HD 6970:
|
||||||||
| Home Ģ Reviews Ģ Forums Ģ News 2015 Ģ 2013 Ģ 2012 Ģ 2009 Ģ 2008 Ģ 2007 Ģ 2006 Ģ 2005 Ģ 2004 RSS Feeds Ģ FOV Factor Table Ģ Sensor Sizes | Definitions: A-D Ģ E-H Ģ I-L Ģ M-P Ģ Q-U Ģ V-Z | Sitemap Articles Ģ Archived Websites (Pre-DigitalDingus): D100 Lounge Ģ E-10 Club | Contact |