
 |
| Home Ģ Reviews Ģ Forums Ģ News 2015 Ģ 2013 Ģ 2012 Ģ 2009 Ģ 2008 Ģ 2007 Ģ 2006 Ģ 2005 Ģ 2004 RSS Feeds Ģ FOV Factor Table Ģ Sensor Sizes | Definitions: A-D Ģ E-H Ģ I-L Ģ M-P Ģ Q-U Ģ V-Z | Sitemap Articles Ģ Archived Websites (Pre-DigitalDingus): D100 Lounge Ģ E-10 Club | Contact |
| Image Doctor 2 by Alien Skin |
|
| Using Image Doctor 2 January 5, 2008 |
|
| Image Doctor 2: Introduction Ģ Image Doctor 2: Using ID2 Image Doctor 2: Using ID2 (Advanced) Ģ Image Doctor 2: Specifications Image Doctor 2: Conclusion
|
|
There are five major filters contained in Image Doctor 2. These filters are:
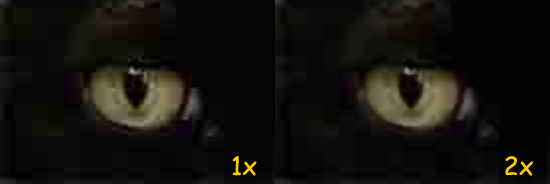
Each filter has a different effect on an image. For skin tones and skin issues, use the Skin Softener and Blemish Concealer. For images which have been highly compressed and you want to remove some of the jaggies which tend to encircle themselves around key defined areas within an image, the JPEG Repair filter does pretty good and we'll take a quick comparison look below. JPEG Repair
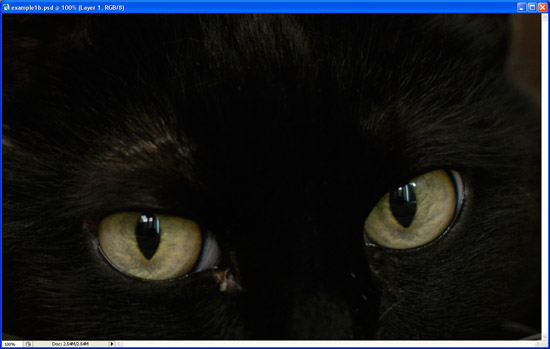
 Removing Unwanted Objects: The Simple Way Removing specific areas within an image which need to be removed, I have found two ways to do this most effectively. Both ways it is necessary to create a new layer in Photoshop, using the layer to guide ID2's repairing abilities. This is really simply to do, and you don't need to be a pro to do it. The first way, is slightly rather easy, and we'll take a look below on how to do it. We'll be using the same image below on the next page for the advanced features as well.
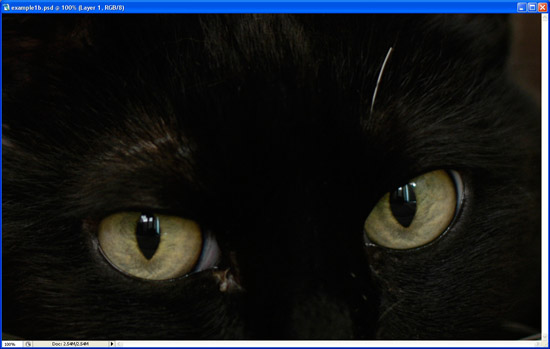 Using the Lasso tool, we draw an area around the object to be removed. It will probably take a few tries to eventually get a nice and tight lasso drawn, so feel free to practice before the actual processing is done.
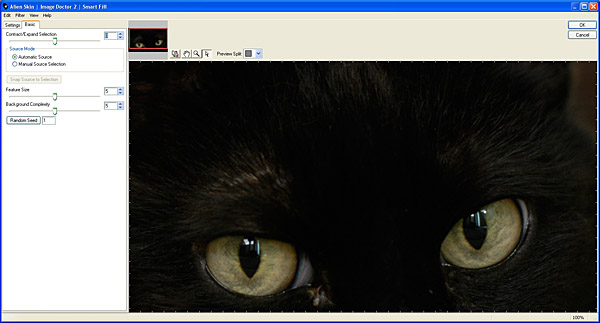
 Now, select Filter --> Image Doctor 2 --> Smart Fill, and the following changes occur:
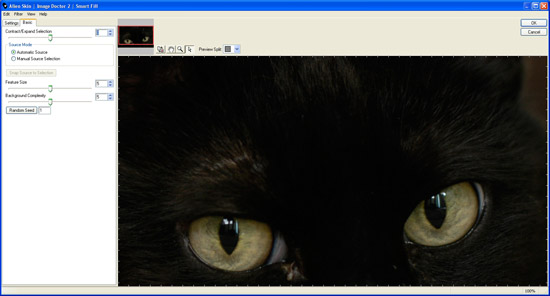
 Pretty simple, right? And as with every Alien Skin plug-in, you can adjust the filter to your own customized needs. Maybe the image doesn't look right? use Random Seed in addition with Contract/Expend Selection, Feature Size, and Background Complexity for for highly user-specific requirements. On the following page, we'll use a more advanced technique which will apply to multiple objects. However, one could use this simple technique multiple times, so the advanced section does not necessarily need to be used if you don't understand it. It's just their for those who are a little more familiar with Photoshop.
|
|
| Home Ģ Reviews Ģ Forums Ģ News 2015 Ģ 2013 Ģ 2012 Ģ 2009 Ģ 2008 Ģ 2007 Ģ 2006 Ģ 2005 Ģ 2004 RSS Feeds Ģ FOV Factor Table Ģ Sensor Sizes | Definitions: A-D Ģ E-H Ģ I-L Ģ M-P Ģ Q-U Ģ V-Z | Sitemap Articles Ģ Archived Websites (Pre-DigitalDingus): D100 Lounge Ģ E-10 Club | Contact |