
| Home Ģ Reviews Ģ Forums Ģ News 2015 Ģ 2013 Ģ 2012 Ģ 2009 Ģ 2008 Ģ 2007 Ģ 2006 Ģ 2005 Ģ 2004 RSS Feeds Ģ FOV Factor Table Ģ Sensor Sizes | Definitions: A-D Ģ E-H Ģ I-L Ģ M-P Ģ Q-U Ģ V-Z | Sitemap Articles Ģ Archived Websites (Pre-DigitalDingus): D100 Lounge Ģ E-10 Club | Contact |
| Installation (Part 2) |
| Installation (Part 1) | Installation (Part 2) |
Installation (Part 3) | Albums & Functions | Keywords Collections | Import | Timeline | Edit Picture | Search Conclusion | Hello (chat & share photos)
|
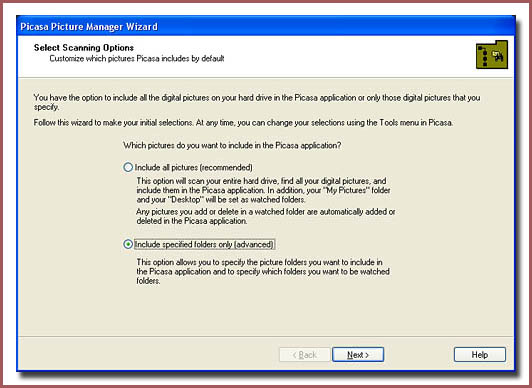
The following window is what will appear after you enter in a serial or decide to try the software. You have two options for Picasa to take: 1) Picasa will search all drives for photos and graphics 2) You will be taken to a screen where you select what areas are to be scanned by Picasa I chose #2 because I have a massive amount of graphics and photos on my computer (including 3 hard drives), and I wanted the option to add certain folders to Picasa, at my convenience. Now, if you want your entire hard drive to be mapped out by Picasa, and want everything categorized, then by all means do it. However, do remember that everything will be scanned.
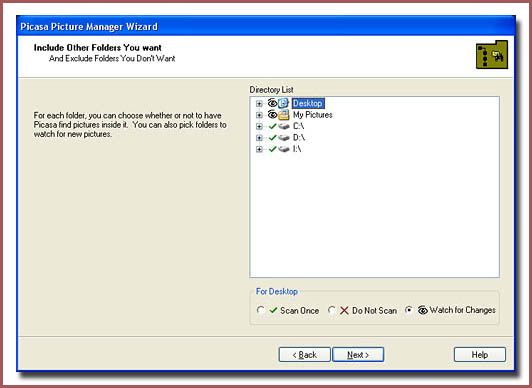
1) Scan Once 2) Do Not Scan 3) Watch For Changes

|
| Home Ģ Reviews Ģ Forums Ģ News 2015 Ģ 2013 Ģ 2012 Ģ 2009 Ģ 2008 Ģ 2007 Ģ 2006 Ģ 2005 Ģ 2004 RSS Feeds Ģ FOV Factor Table Ģ Sensor Sizes | Definitions: A-D Ģ E-H Ģ I-L Ģ M-P Ģ Q-U Ģ V-Z | Sitemap Articles Ģ Archived Websites (Pre-DigitalDingus): D100 Lounge Ģ E-10 Club | Contact |